Hot water is a daily necessity—from showering to washing dishes and doing laundry. When your water heater is working properly, it’s easy to take it for granted. But when it fails, the disruption can be immediate and uncomfortable. Whether you’re installing a new unit or repairing an old one, understanding the essentials of water heater installation and repair can help you make informed decisions and avoid costly mistakes.
Types of Water Heaters
Before diving into installation and repair, it’s important to understand the different types of water heaters available:
- Tank Water Heaters – The most common type, storing 30 to 80 gallons of hot water and using either gas or electricity.
- Tankless (On-Demand) Water Heaters – Heat water as it’s needed, offering higher efficiency and unlimited hot water.
- Heat Pump (Hybrid) Water Heaters – Use electricity to move heat from the air to heat the water, making them energy efficient.
- Solar Water Heaters – Use solar panels to heat water and typically require a backup power source.
- Condensing Water Heaters – Highly efficient gas models that reuse heat from exhaust gases.
Each type has unique installation requirements and varying repair needs, but tank and tankless models are by far the most common in American homes.
Water Heater Installation: What to Expect
1. Choosing the Right Unit
The first step in the installation process is selecting a water heater that suits your household size and energy efficiency goals. Consider the following:
- Fuel type (gas vs. electric)
- Tank size (for storage units)
- Flow rate (for tankless models)
- Energy factor (EF) or UEF rating
- Warranty and brand reliability
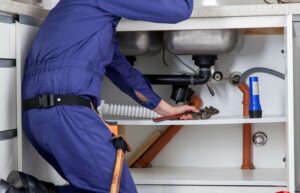
2. Removing the Old Unit
A licensed plumber or HVAC technician will first shut off the water and power/gas supply to your existing unit. The tank is then drained using a hose attached to the drain valve. Once empty, the old unit is disconnected and removed.
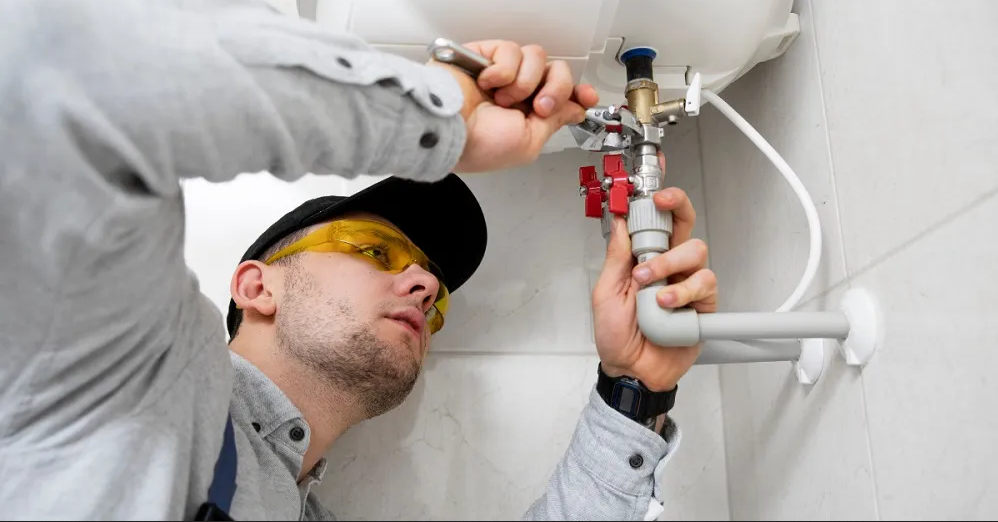
3. Installing the New Water Heater
For a tank water heater, installation includes:
- Setting the new tank in place
- Connecting water supply lines
- Attaching gas or electric connections
- Installing the temperature and pressure (T&P) relief valve
- Ensuring proper venting for gas models
- Filling the tank and testing for leaks
For a tankless water heater, installation is more complex and may require:
- Mounting the unit on a wall
- Installing a dedicated gas line or higher-capacity electrical wiring
- Adding a vent or condensate drain line
- Upgrading water lines to handle higher flow rates
4. Final Checks and Activation
Once the unit is installed, the technician will:
- Turn on the water and power supply
- Set the thermostat to the desired temperature (usually 120°F)
- Check for leaks and proper venting
- Flush air from the lines and verify hot water delivery
A professional installation typically takes 2–4 hours for a tank unit and 6–10 hours for a tankless system, depending on site conditions and complexity.
Water Heater Repair: Common Issues and Solutions
Even with regular maintenance, water heaters can experience problems over time. Understanding common issues can help you troubleshoot or know when to call a professional.
1. No Hot Water
- Electric units: Check for tripped circuit breakers or faulty heating elements.
- Gas units: Look for pilot light issues, thermocouple failure, or gas valve problems.
2. Inadequate Hot Water
- Sediment buildup in the tank can insulate water from the burner or heating element.
- The thermostat may be set too low.
- The unit may be undersized for your household demand.
3. Water Leaks
- Leaks may occur around the T&P valve, drain valve, or from the tank itself (especially if it’s rusted inside).
- Leaking from fittings may be fixable, but a leaking tank usually requires replacement.
4. Strange Noises
- Rumbling or popping sounds are typically caused by sediment buildup in the tank.
- Flushing the tank annually can help prevent this.
5. Rusty or Discolored Water
- Indicates corrosion inside the tank or deteriorating anode rod.
- Replace the anode rod if needed, or consider replacing the tank if the interior is badly corroded.
6. Foul Odors
- Often caused by bacterial growth in the tank, especially in areas with hard water.
- A solution of hydrogen peroxide or replacing the anode rod can help eliminate odors.
DIY vs. Professional Repairs
Some basic maintenance tasks, like flushing the tank or adjusting the thermostat, can be done by homeowners with a little guidance. However, most repairs—especially those involving gas lines, electrical wiring, or pressure valves—should be left to a licensed plumber or technician for safety and code compliance.
Always turn off the water and power supply before attempting any repair.
Maintenance Tips to Extend Water Heater Life
Regular maintenance can extend the life of your water heater and improve its efficiency:
- Flush the tank at least once a year to remove sediment.
- Test the T&P valve annually to ensure it functions properly.
- Check the anode rod every 2–3 years; replace if more than 50% is corroded.
- Insulate the tank and pipes to retain heat and reduce energy consumption.
- Inspect the venting system (for gas units) to ensure safe operation.
When to Replace Instead of Repair
Water heaters have a typical lifespan of 8 to 12 years. If your unit is nearing that age and needs significant repairs, it may be more cost-effective to replace it entirely. Consider replacement if:
- The tank is leaking
- Repairs cost more than 50% of a new unit
- You want to upgrade to a more energy-efficient model
- Your family has outgrown your current unit’s capacity
Permits and Code Compliance
Most local jurisdictions require a permit and inspection for water heater installations. This ensures that:
- The installation is safe
- Gas and electric lines meet code
- Proper venting and pressure relief systems are in place
- The installer is licensed and bonded
Skipping permits can lead to fines and potential insurance issues if a problem occurs later.
Cost of Installation and Repair
- Installation of a tank water heater: $800–$2,000 depending on size, fuel type, and labor.
- Tankless water heater installation: $1,500–$4,000 including equipment and upgrades.
- Common repairs: $150–$600 depending on the issue (thermostat replacement, leak repair, valve replacement, etc.).
While DIY installation may seem like a cost-saver, incorrect installation can lead to water damage, fire hazards, or carbon monoxide poisoning—so it’s usually best to hire a professional.
Conclusion
Installing or repairing a water heater is not just about restoring hot water—it’s about ensuring your home runs efficiently and safely. Whether you’re upgrading to a new, energy-efficient system or repairing a small issue, knowing the basics of Indianapolis water heater installation and repair can save you time, money, and stress. Work with a licensed contractor, schedule routine maintenance, and pay attention to early warning signs to keep your hot water flowing for years to come.