
Nowadays, tiles have become popular flooring material for many homeowners. This is because they are easy to install, maintain, and cost-friendly. Tiles last long and offer a unique aesthetic appearance compared to other flooring materials. However, a lot has to be done regarding their installation. This guide will share adequate information on tile selection, installation procedures, and maintenance tips. Let’s delve in!
How to pick the most suitable tiles
There are various tile types, designs, and patterns in the market. You must outline your requirements and get the perfect match. If unsure what to go for, you can consult professionals like Metro Surfaces tile installers for guidance. Here’s how to choose the perfect tiles for your project:
Material and installation
Tiles come in different colors, materials, and price ranges. For example, vinyl, brick, and laminate are tile materials. For that reason choosing the suitable material works perfectly regardless of your needs. Knowing where the installation will be conducted is essential as well. Areas like dining and kids’ rooms require strong materials that last long.
Durability
Although most tiling materials are wear and tear resistant, some are not. For example, marble and granite are easy to crack and stain. Therefore before choosing your tiles, consider the traffic in the selected area.
How are tiles installed?
Tile installation is an easy task only if you follow the proper procedures. With maximum preparation, you can be sure to get the most out of your investment. If you are wondering how to go about your tile installation project, check out the tips below;
Preparing the surface
Your floor must be free from moisture and dust for the best tile installation results. If your floor is tidy and wet, the flooring will stick better. Therefore before you begin any process, ensure the installation area is clean and dry. Ensure that no oil or grease is present as well.
Creating your layout
For a better lay, pinpointing the center of your room is the first step. To achieve this, consider diagonal ways, such as marking the center points of opposite walls. Once you have highlighted the center of your room, make a few adjustments at the intersections to make perfect grids.
Applying mortar
With the aid of a trowel, spread mortar coating to the grids and ensure you don’t cover the guidelines. For standing ridges, ensure you comb the adhesive by holding your trowel at a 45-degree angle.
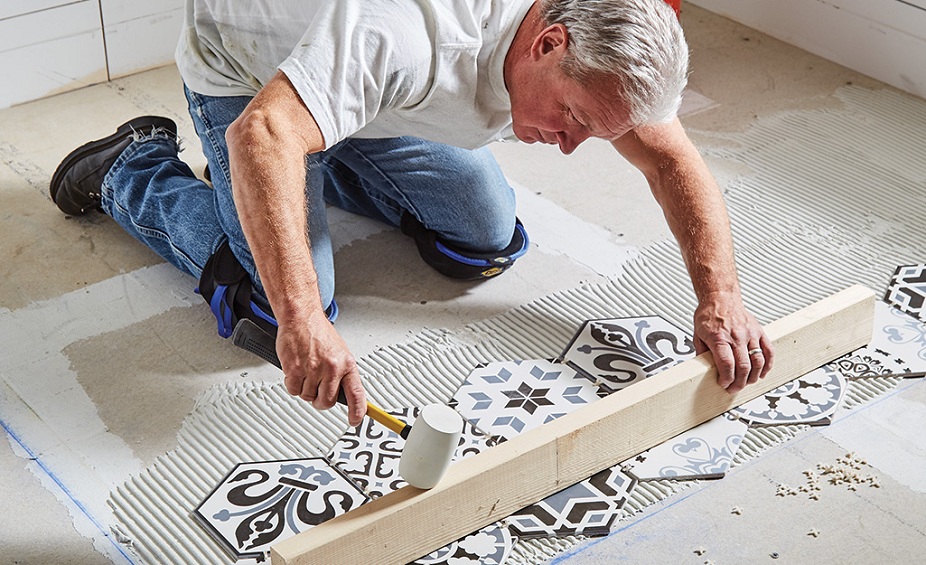
Placing the tile
After applying mortar, it’s time to place your tiles on the grids. Ensure you lift your tiles carefully while ensuring full back coverage. If the tiles aren’t fully covered, you can add extra mortar. Place one tile after another until your room is covered.
Grouting
This is the last tip. Ensure you apply enough grout to your tiles. As grout is a sealant, it will keep your tiles locked and appear tight. Grout improves the lifespan of your tiles and ensures easy maintenance.
Bottom line
Tiles increase the value of your property and improve the overall look and appeal. If you still need to install some, it’s right time you consider the investment. However, you need a professional installer to ensure a flawless finish. If you’re upgrading your interiors with tile installation, consider pairing it with expert outdoor landscaping services from https://www.